Successful Spring Cleaning Tips
With spring about to… well, spring! It’s time to say goodbye to the endless clutter we’ve accumulated over the long winter months and make a fresh start on a successful 2019.
We’re here to offer you gentle encouragement and plenty of good ideas to help you make your year the most productive one yet, this list is just the start but let’s jump in to our Top 10 tips for Spring cleaning Success!
- Let’s begin at the beginning, shall we? Where better to start than with a list, it may seem cliché but there really is no better way to get organised and to make sure you hit all your cleaning goals:
Try organising your list by room first of all, then by priority it will help you with our next tip but it also pays to work systematically, room by room -that way, you’ll be able to see where you’ve made improvements which can help you stay motivated in the long run!
- Work top to bottom: This tip is another, more broad rule of thumb but it can certainly help you to not lose sight of your target, we suggest not only working top to bottom on a room level but in the home, start upstairs, in the rooms furthest away from your front door, as you declutter and things slowly leave the house you’ll find these furthest rooms will remain clean and undisturbed.
Clean top to bottom too, it may seem obvious but there’s no sense in cleaning your carpets before dislodging all the dust on top of your wardrobes and shelves, working top to bottom helps you to get the best possible results, whether you’re tidying, organising or deep cleaning.
-
Make Piles: If you’re keen to reduce the clutter in your home you’re going to need to be ruthless, you can make these decisions easier on yourself by organising three piles for each room as soon as you take on cleaning it;
1. One to put away, all the things you use frequently that you want to be on hand an on display in the room.
2. One for the attic, whether they’re destined for the shed, the attic or even the closet this pile is the most important, if you’re tempted to throw something in the first pile, give yourself the time to think ‘how often do I really use this?’ if you’re certain you want to keep something, you should be critical in your decision to keep it to hand, could it maybe be taking up unnecessary space? If so, could you live with it being a little further out of reach for the sake of space in the home.
3. One for Charity, as you organise your belongings, try to be honest with yourself, if you’re keeping something purely because you remember spending money on it, but it never sees any use, then maybe it’s time to let go? Allow yourself to keep things with cherished memories attached but if your association to an item is purely physical and you don’t use it anymore, let it go! Try to think of the good you could be doing by donating these unused items to charity and if you really are aiming to declutter, try to set yourself a target for how much you’re going to get rid of.
4. One for the skip, we like to be conscious of our environment and our affect on the planet, so hopefully there isn’t too much destined for this pile but it is a fact of life that some things will simply need throwing out, if it’s no good for charity and it’s no good for you then get rid! Try to separate recyclable packaging from waste as you go and feel the weight lift as you dismiss useless artefacts from your newly decluttered living space!
Creating these piles for every room of the house can be both fun and challenging but if you’re honest with yourself throughout the process you’ll be amazed how much space you can free up. Ideally you want your pile to put away to be much smaller than the pile for storage if you can.
With all the tidying and decluttering out of the way it’s time to deep clean those areas of the home that maybe don’t get as much attention as they should, our remaining tips address specific household surfaces and how to get results like never before!
- The Microwave: Say goodbye to those grimy deposits of splattered soup and beans with the help of a simple lemon! Try cutting a lemon (or a pair of limes!) in half and squeezing the juice into a microwaveable dish with half a cup of water, drop in the fruit and microwave the mixture for three minutes and leave a further five minutes with the door closed, the citric acid in the steam should soften up any unwanted stains making them easier to remove with a sponge scourer and a little elbow grease.
- Chopping Boards: you may have convinced yourself that those pesky stains in your chopping board are there to stay but you’d be wrong! We’re back on the lemon train for this pro tip! Try rubbing a small amount of baking soda onto your dry chopping board with some coarse sea salt, then half a lemon and rub the cut side over the surface vigorously, the lemon juice and soda should react to help remove stains while the coarse salt will help to apply some friction to more stubborn areas.
- Your Carpet: If you have pets then you might already be aware of Mrs Hinch’s pro tip for cleaning pet hair out of carpets but we believe that the humble squeegee hack is for everyone, not just those of us with four legged friends, get yourself a rubber bladed squeegee, the kind that is designed for cleaning windows and get scraping, by applying a small amount of pressure and dragging the rubber edge across your carpet, you’d be amazed at how much debris you can pick up that is being left by your vacuum cleaner.
- Your Windows: Now that you’ve repurposed your window squeegee as a carpet cleaner it stand to reason that we should offer you an alternative for cleaning your windows and other glass surfaces, well we can’t recommend newspaper enough, Mix ¼ cup of white vinegar, 2 cups of water and 2 teaspoons of liquid soap into a spray bottle. Spray the mixture onto the glass and scrub with newspaper for a streak-free window or mirror. The ink acts as a mild abrasive and allows you to make use of old, otherwise useless newspapers. For the best possible results when cleaning windows, you should start early in the morning or in the evenings and try to clean windows that are in the shade as direct heat and sunlight can promote streaking.
- Your Shower Head: Use white vinegar! Vinegar can dissolve the mineral deposits that accumulate in shower heads over time, leading to a reduction in pressure and flow. Try filling a sandwich mag with white vinegar and a hint of lemon juice, place your shower head inside and secure the bag with an elastic band overnight before running through some hot water to clear out any residue in the morning.
- Shower Curtains: Did you know you can get a good result from your washing machine? Try throwing your shower curtain in the wash at 40° with some detergent and you’ll be amazed at the results, we recommend washing the curtain with a couple of towels, not only to make the most out of the cycle but your towels will offer an abrasive surface to aid in the cleaning of the shower curtain.
- Your Bin: Let’s face it, cleaning out the kitchen bin can be a grisly affair but this tip isn’t about cleaning, normally a boiled kettle and some disinfectant will do the trick but we’re here to offer you next level advice, try adding a shallow layer of cat litter to the bottom of your bin before adding the bin bag – the litter will help to absorb any liquids that leak through the bag! When you empty your bin, try tying the bag inside the bin itself and tipping the whole thing out together, litter and all, this way you can apply fresh cat litter every time you add a fresh bag.
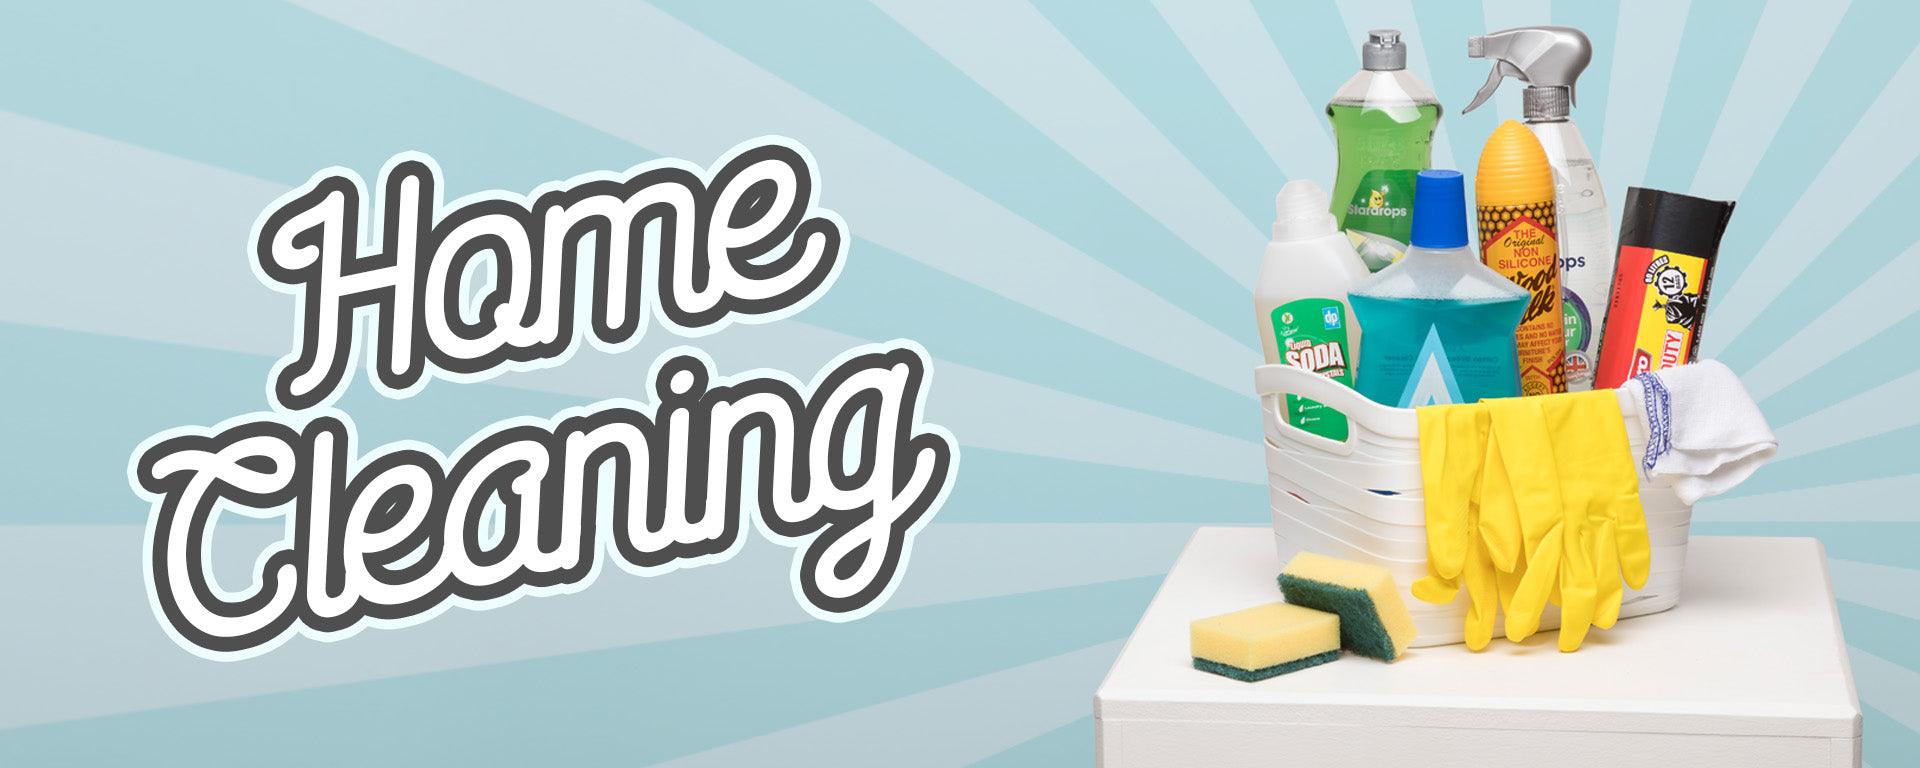
If you found any of our spring-cleaning tips useful why not leave a comment? Or share this article so our friends can see it too 😊 and don’t forget, here at Yorkshire Trading Co. we offer a great range of household cleaners at low low prices, so why not take a look before tackling your next big cleaning project!